Let Them Eat Cake! And Pie!

Just when I thought it couldn't get any better than "Chocolate Week," we have "Cake Week: Part 1 and Part Deux." TWO weeks of cake?! And to follow that up, we have Pastry Doughs: Part 1 and Part 2. Is this real life?

Let me fill you in on these last 3 weeks.

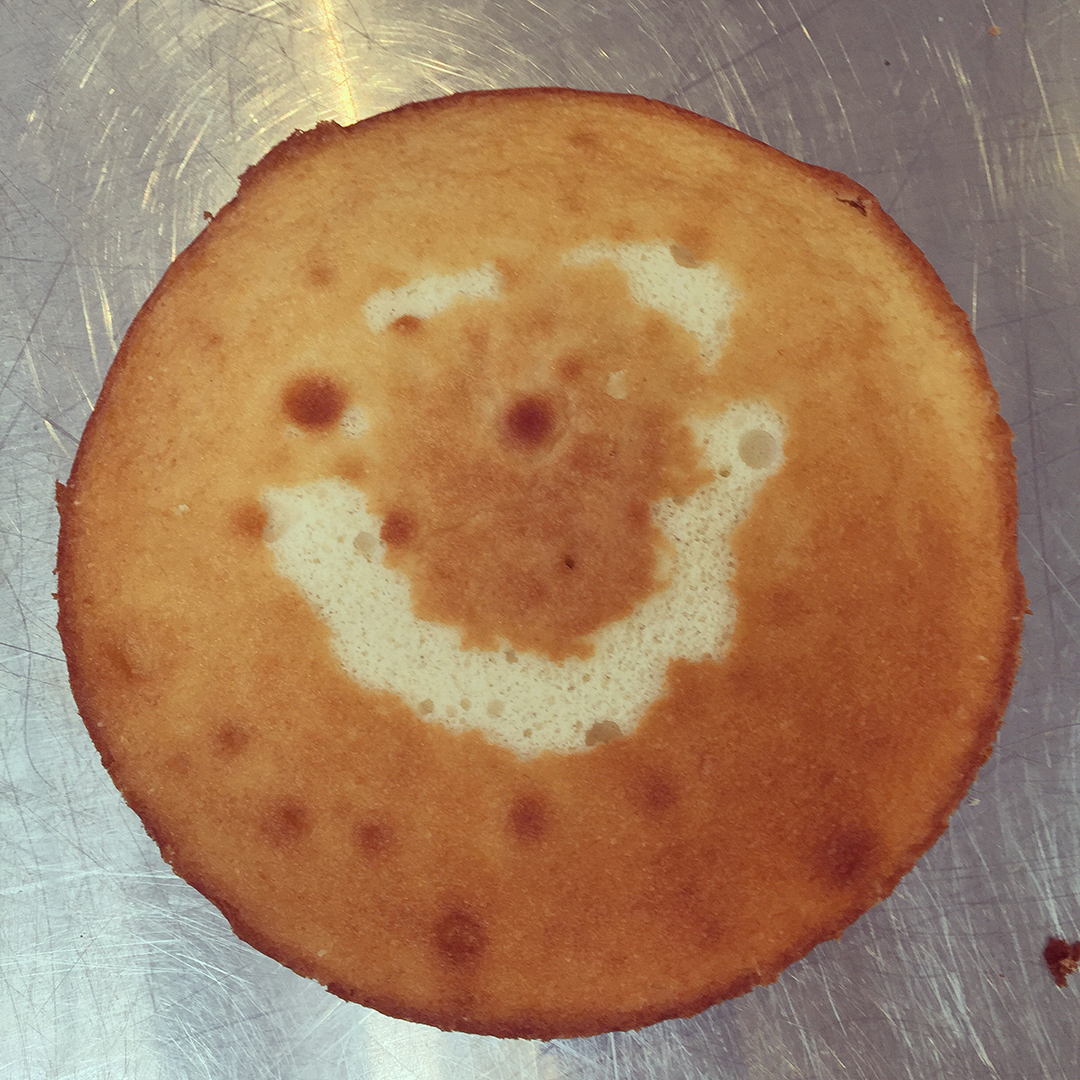
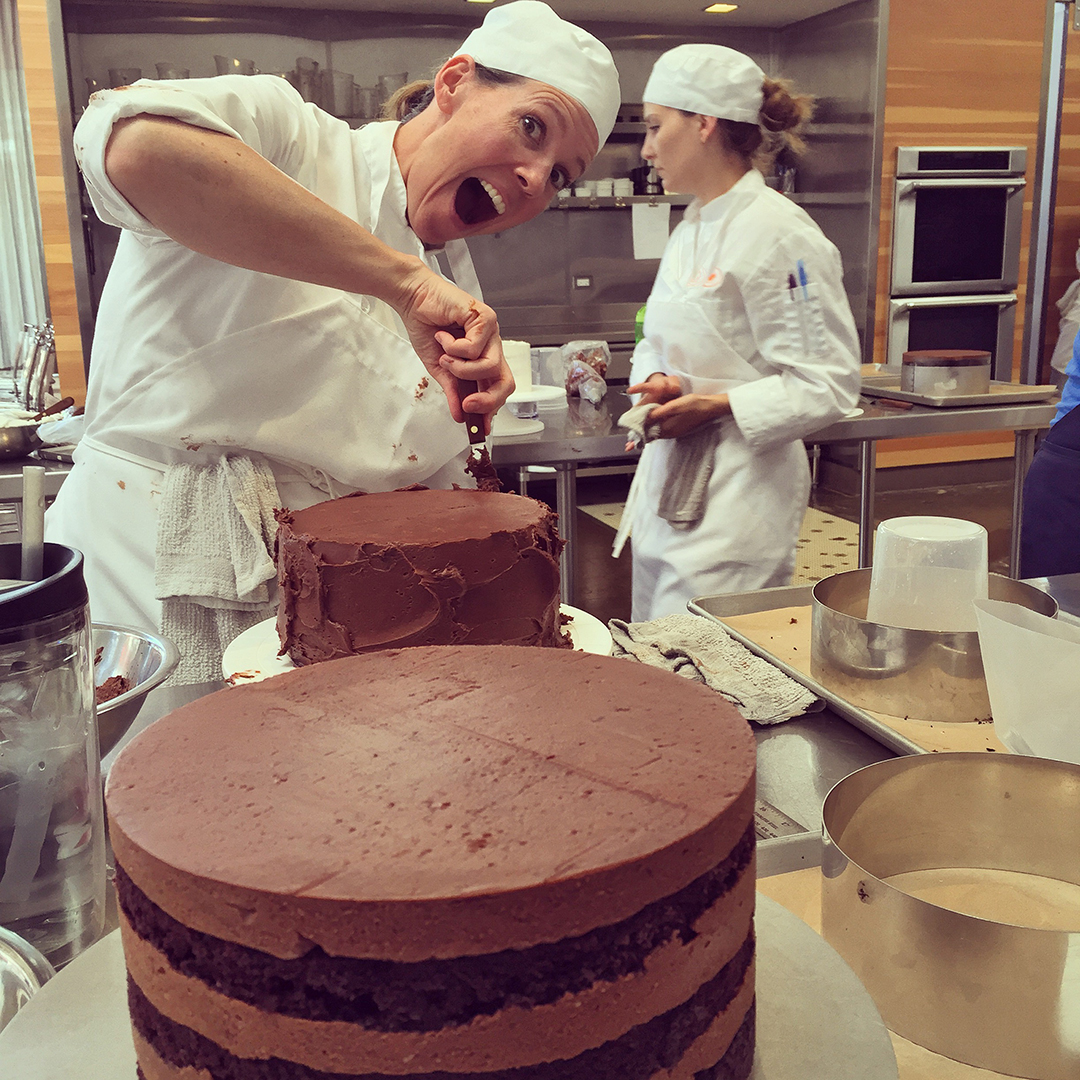
The first week (week 4 into the program) was an intro to cake baking. Translation: we made a ridiculous amount of cakes, which meant, I ate a lot of cake. Morning? Lets try the cakes we cranked out from yesterday. Afternoon? Time to sample the next wave o' cakes. Night? Oh look, cake leftovers! I mean, I'm just trying to educate myself (right?) Cake gorging aside, I was introduced to a whole plethora of different cake varietals, techniques and flavor profiles. I was stoked to discover some fun creative recipes like the Blum's Coffee Crunch Cake. This was a light, fluffy vanilla cake covered in whipped cream and honeycomb. Oh the honeycomb. I can eat it like popcorn (and I did). Highlights? I learned how to make gourmet Ho Hos! But more importantly, I learned the art of leveling out your cake layers, which was knowledge that I seriously needed (cue my "leaning tower of fail cake").

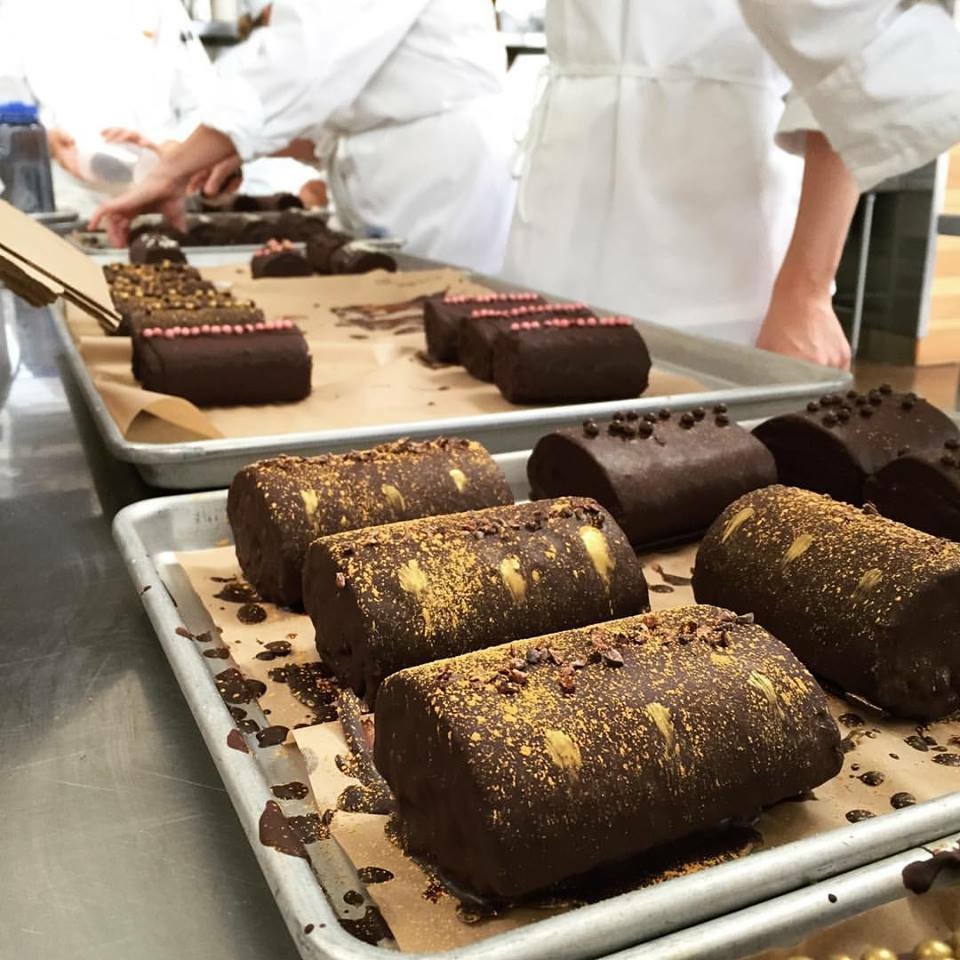
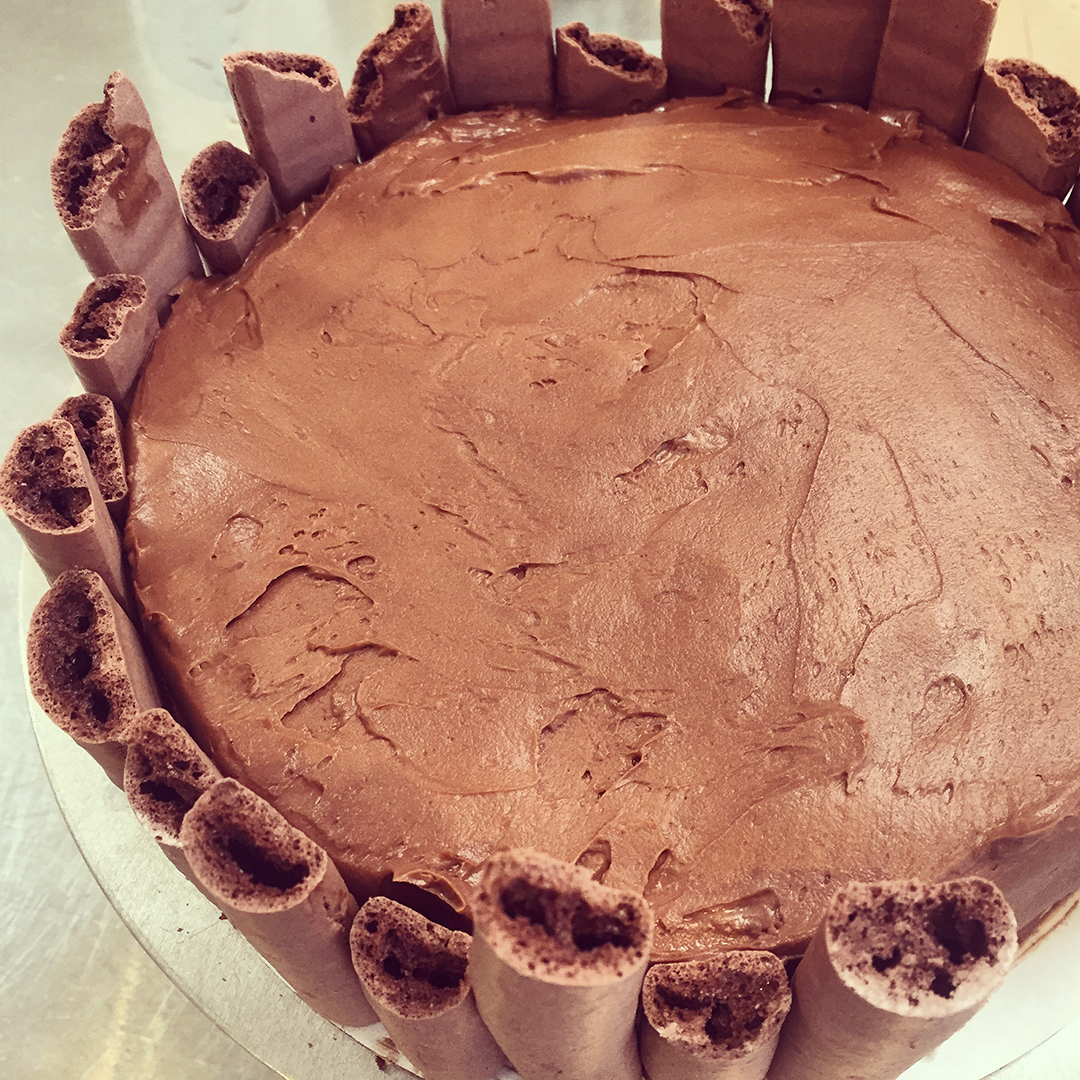
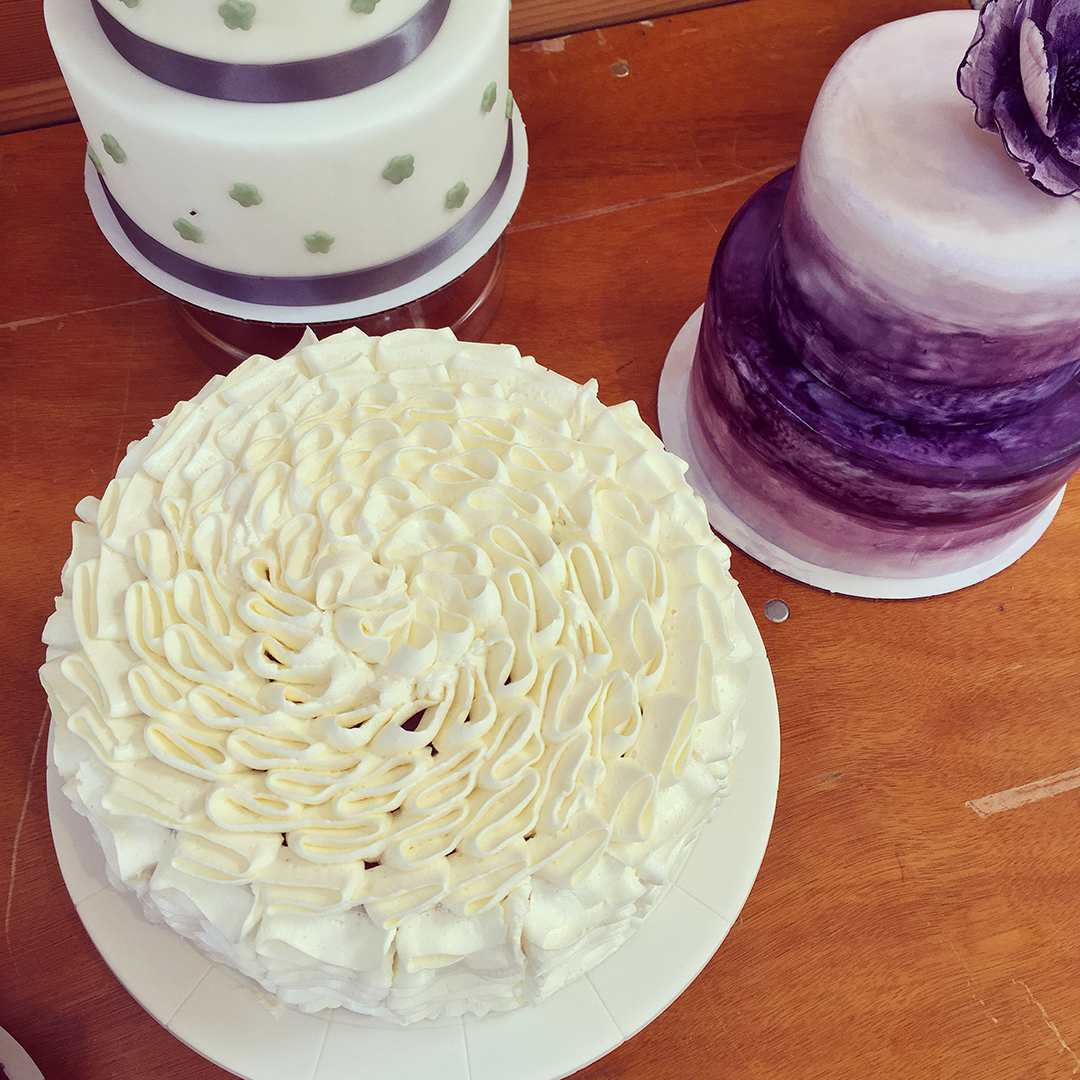
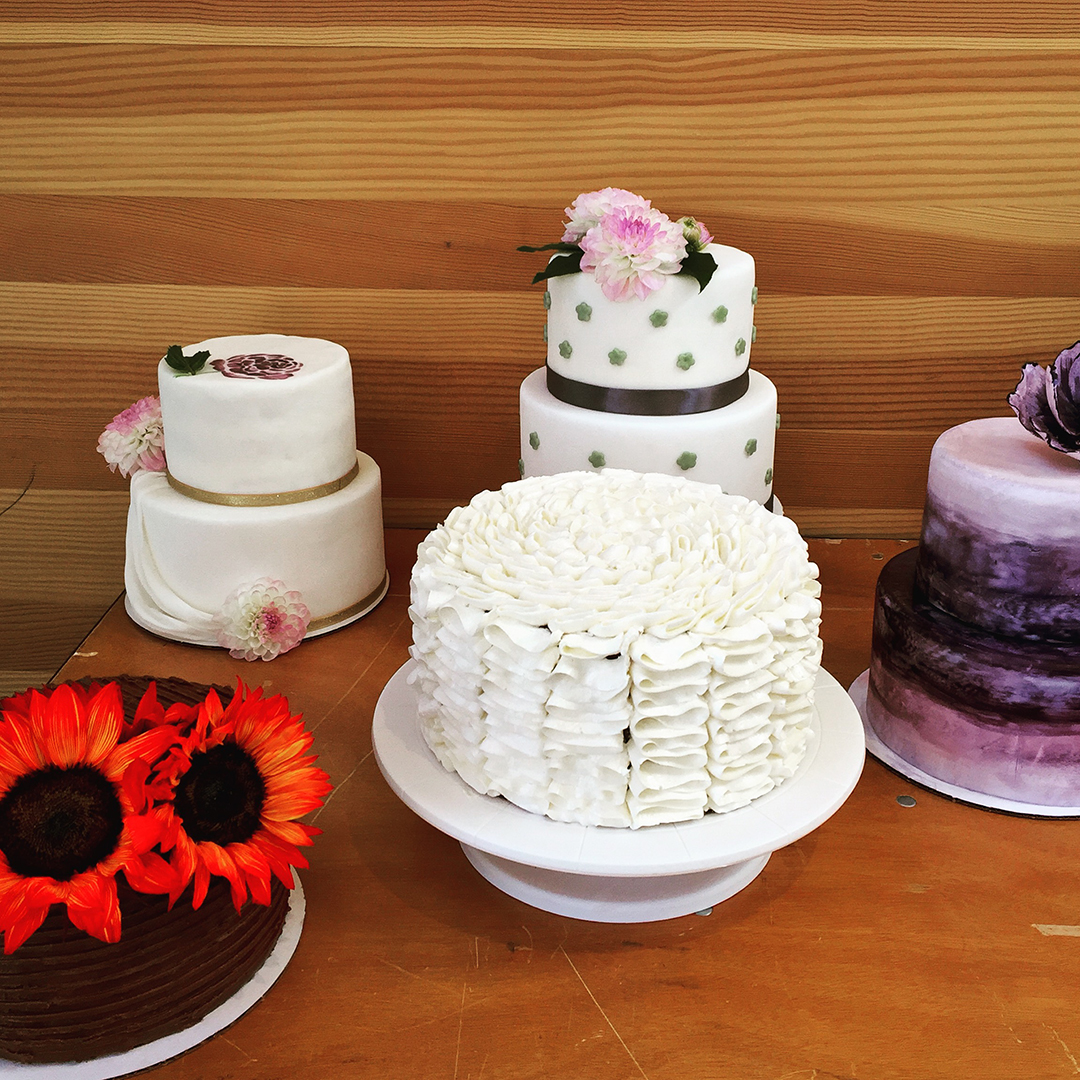
The second week (week 5 into the program) focused on cake filings, assembly and decorating, which included a two-day cake workshop taught by the lovely Laci of Wind & Rye Kitchen. She taught us, in a nutshell, how take your cake game up to 11. We learned such things as how to pipe frosting into beautiful shapes and how to drape/decorate fondant. This was my first time working with fondant and man it's a process getting a layer of this onto your cake. There's rolling, draping, smoothing, trimming, and several more rounds smoothing. I dunno about this fondant. If it tasted less like sugary wax and more like that honeycomb, then maybe I'd be more supportive of it. Highlights? We came out of the workshop knowing how to construct a multi-layered 2-tiered cake! These beauties looked like they were ready to be served at the closest black-tie wedding!

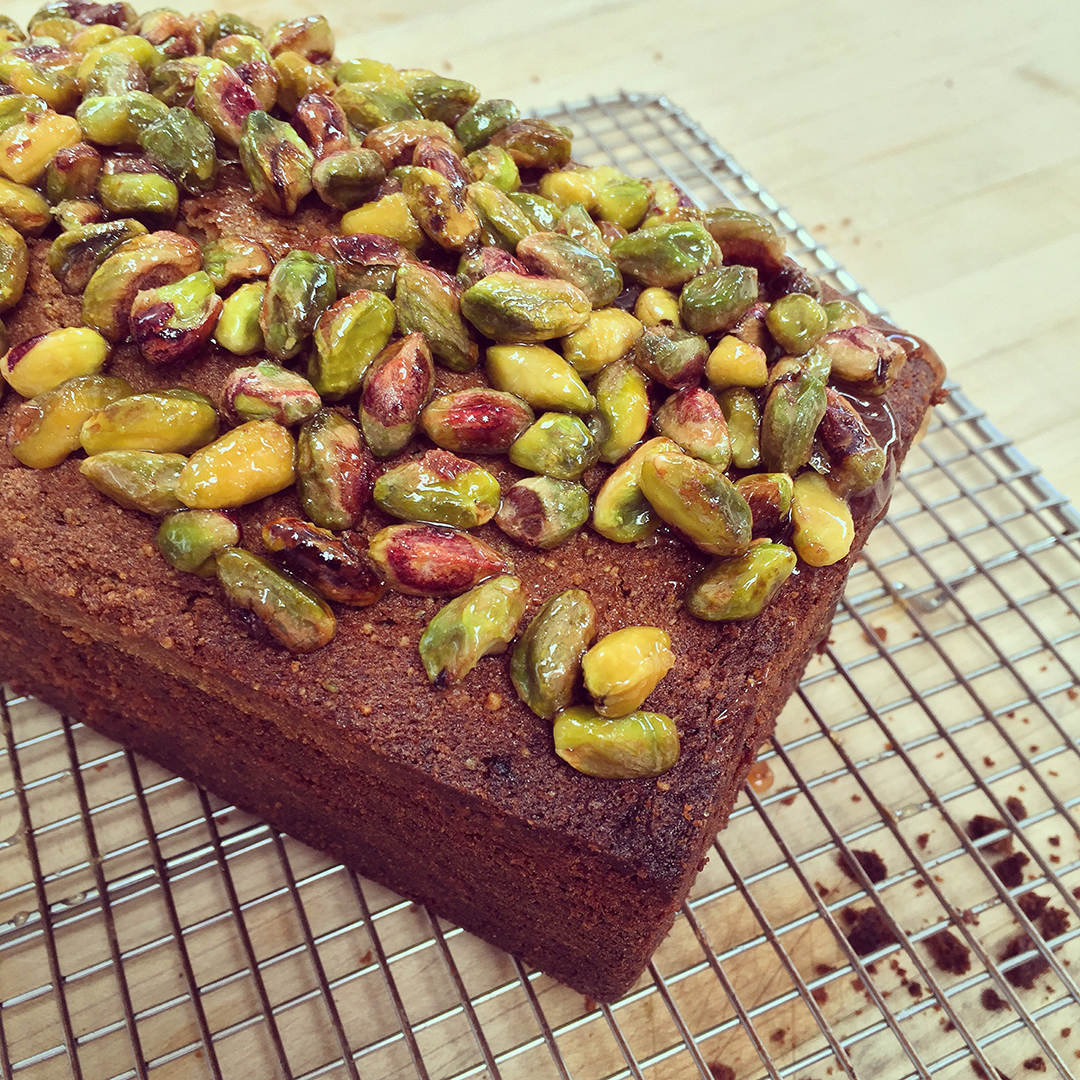
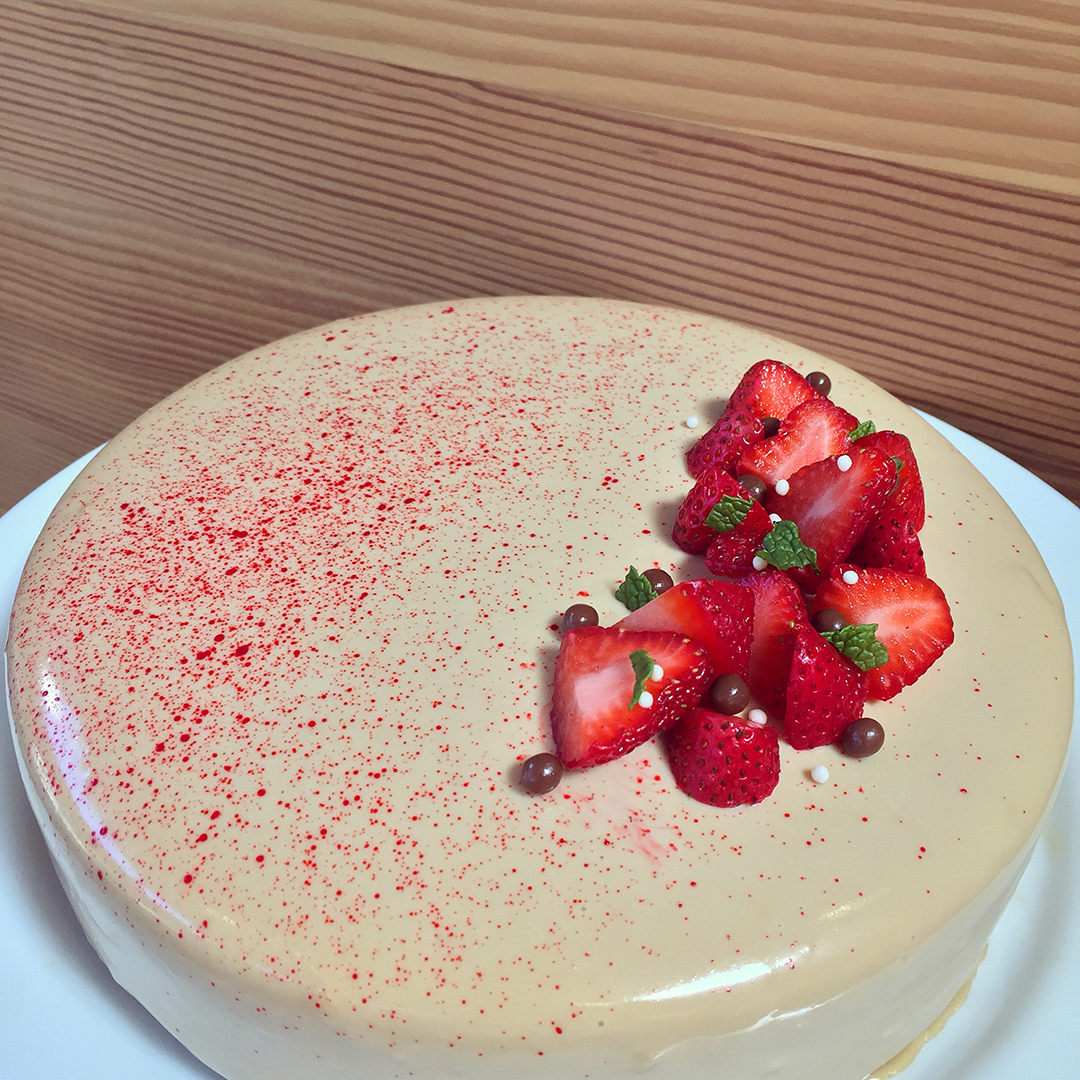
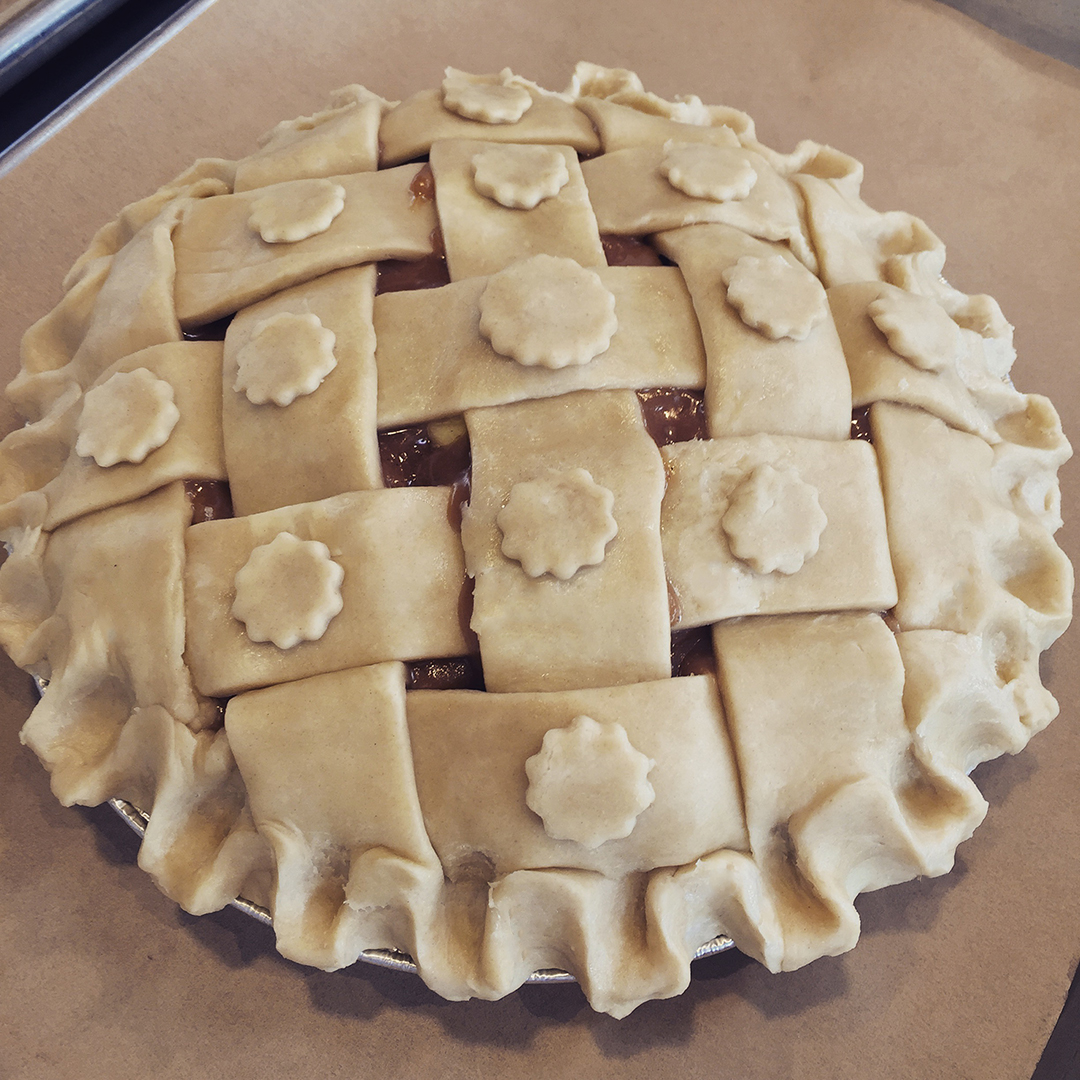
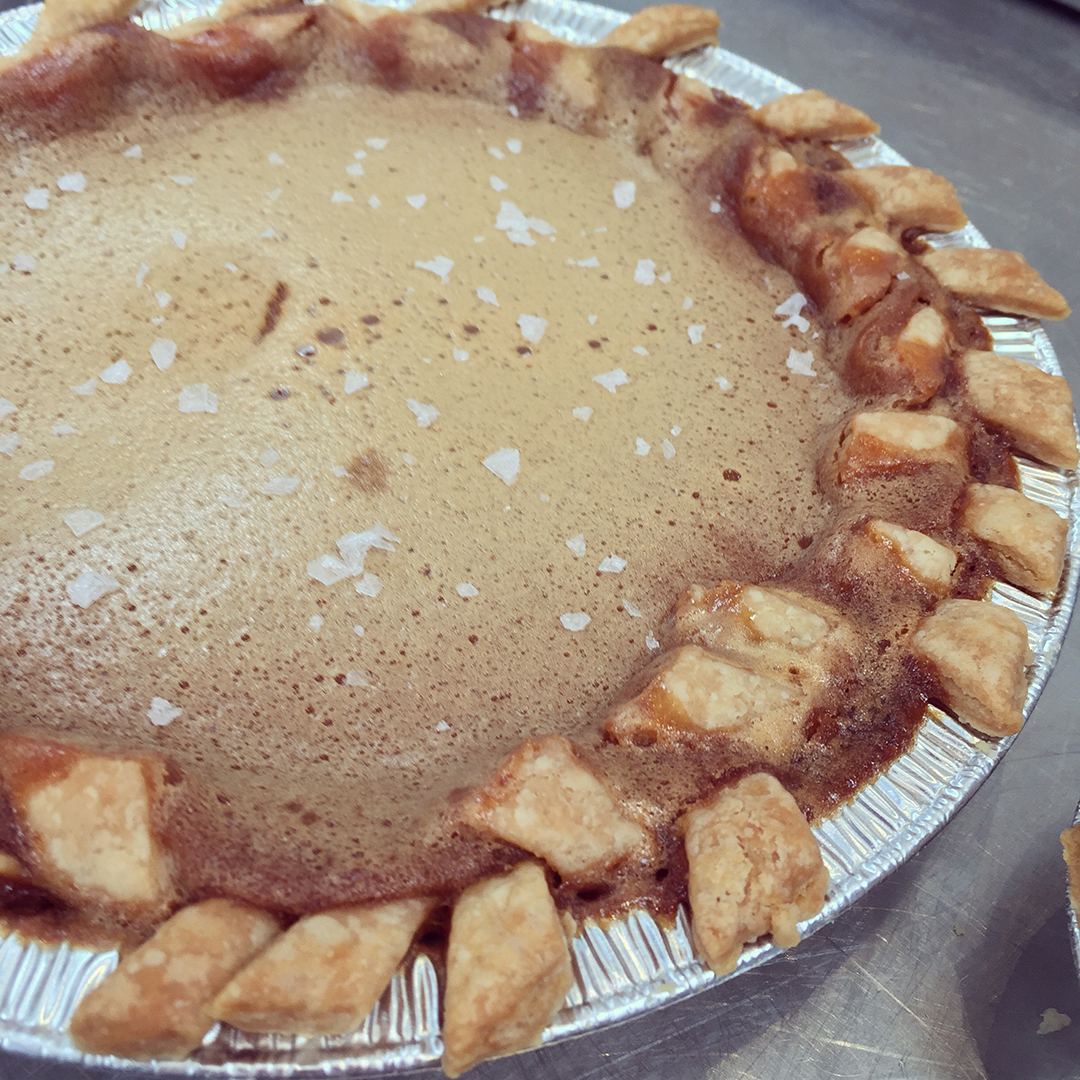
This current week (week 6!) is Pastry Dough Part 1. We made 7 different pastry doughs- I didn't know that many variations existed! Each of these doughs had a different flavor and texture, but I didn't noticed a huge difference in taste. So...when there's copious amounts of pastry dough, what shall one do? Make copious amounts of tarts and pies obvi! My favorites were a lemon tart, salty honey pie and a rhubarb custard streusel pie. Yum.com

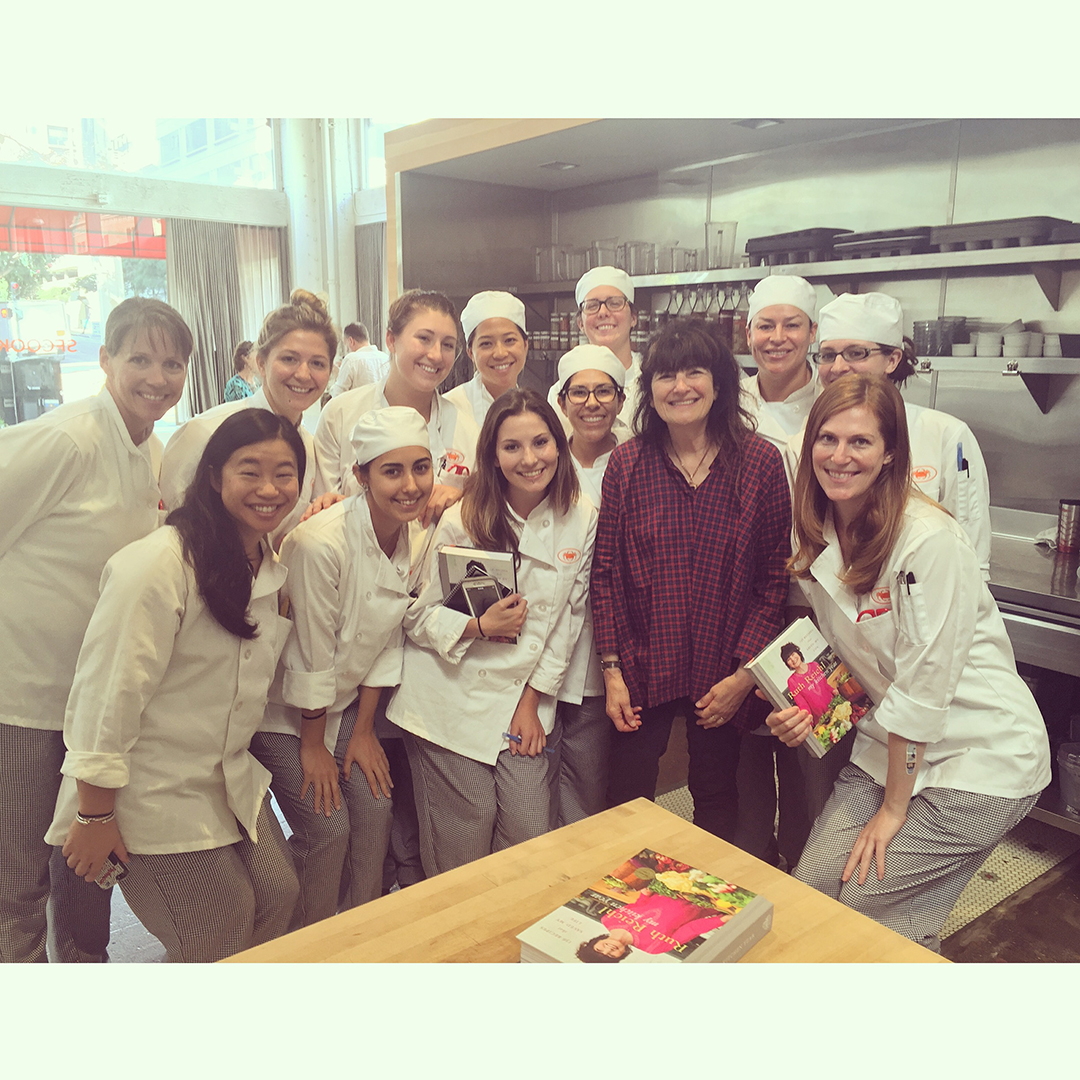
To top this week off, we had a guest speaker come in for an interview and Q&A session. Ruth Reichl, food writer extraordinaire! She's had some killer jobs, to put it lightly. She was a food critic for the New York Times, an editor in chief at Gourmet Magazine, has written several memoirs, a novel, and a few cookbooks. She's also co-owned a restaurant and has been the recipient of four James Beard Awards. I mean, the list goes on and on. Feeling a bit inadequate but in complete awe as much as I was?

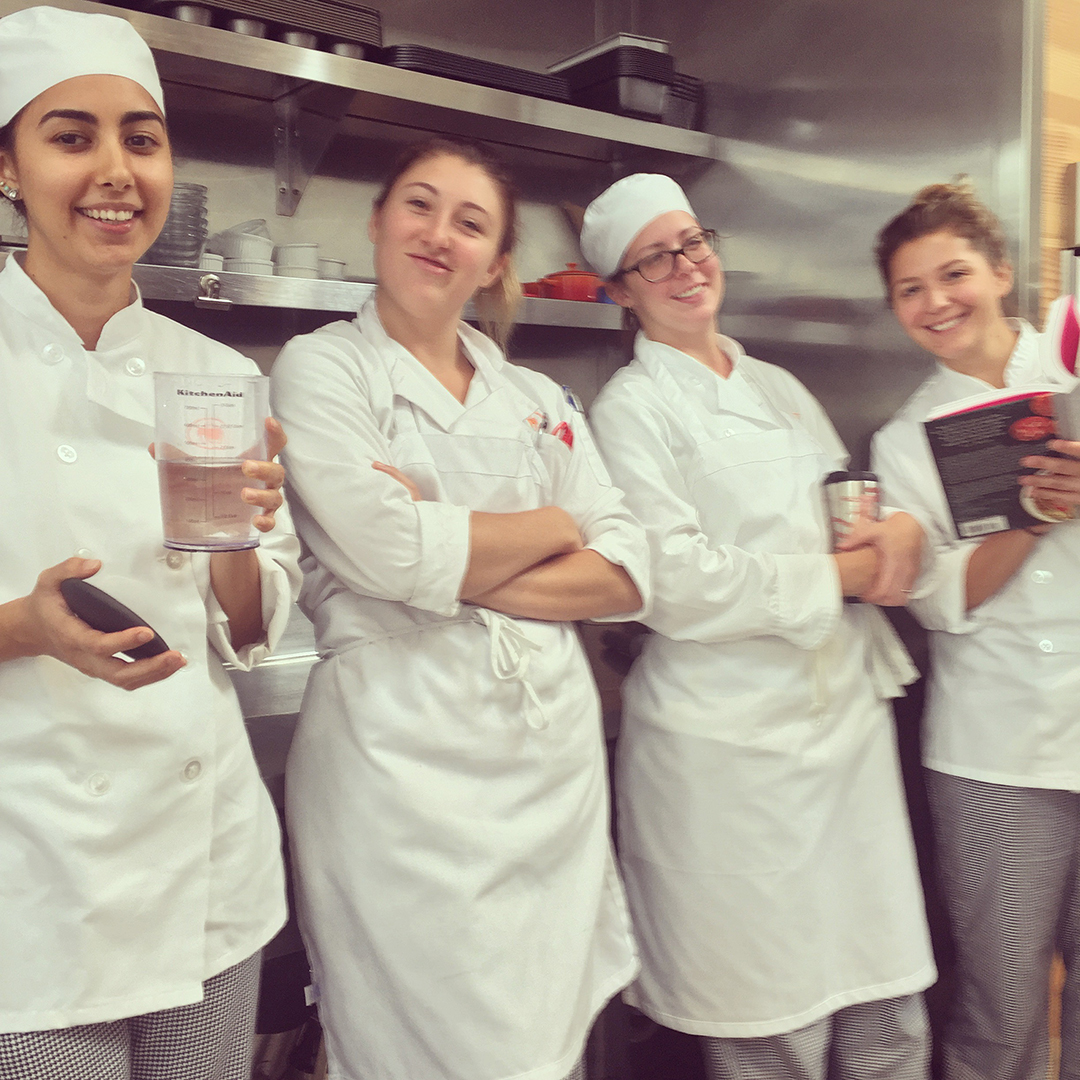
If you've been following along, I've been in pastry school for 6 bloody weeks! My mind is boggled by everything that I've learned so far. This just in: learning is cool. Especially when you're 33. I don't think 23 year old Courtney would have been into this as much as I am now. Sometimes, life is all about timing eh?

Lastly, if you see me anywhere holding a cake box(es), ask me for a taster of whatever is inside and I will happily give you some. I'm not even kidding. I encourage you to even wait outside my door around 3pm every day with a plate and fork. I'm like Santa Claus, gone wrong.

From that note, I give you week's 4-6's recap via another photo montage. But first, play this song. Who doesn't love a little Rihanna backing up their montage?

A Very French Holiday

Photo Credit: thecooksatelier.com

This year for Christmas and New Years, my hubs and I decided to ditch 'Merica and go to France! It was a lovely lovely trip that involved road trips through the French countryside, village hopping, putting regular gasoline in a diesel car, and copious amounts of bread, foie gras, cheese, bread, dessert, wine and bread. I did a top-notch job of carb-loading. After spending Christmas in Paris, we made our way down to the small town of Beaune and partook in a cooking class taught by The Cook's Atelier (The Cook's Attic). It's run by a mother/daughter team who are absolutely adorable. We heart them. They celebrate the connection between the farmer and the cook through their hands-on cooking classes. Their story, in a nutshell, is they both used to live in the states, but moved to France after the daughter fell in love with the country and a Frenchman. The mom is a trained chef and pastry chef (a girl after my heart) and the daughter is trained in viticulture a.k.a. wine (again, a girl after my heart). After gathering our ingredients at the local market, we dove into cooking. I knew the dessert was going to be something special (did I mention pastry chef?!) and it did not disappoint. We made something I've never tackled before: an apple tart. So French, right? It was a several step process, but not as challenging as I thought it would be. Simple ingredients and not overly sweet. They kindly let me make most of the dessert, after I told them about my dessert-fiendness, It was fun and looked so pretty, as French tarts often do. Their delicious recipe follows. I can't wait to make this again!

Photo Credit: my hubs

French Apple Tart
Recipe from The Cook's Atelier
Yield: Pâte Sucrée makes enough for 2 tarts; Apple Filling: 6 to 8 servings

Ingredients – Pâte Sucrée (pastry dough)
1/4 cup heavy cream
2 large egg yolks
2 3/4 cups all-purpose flour
1/4 cups granulated sugar
1/4 teaspoon salt
1/2 pound unsalted butter
Whisk the cream and egg yolks together in a small bowl.

Ingredients – Apple Filling
3 Golden Delicious apples, peeled, cored and sliced into even 1/8-inch slices
2 tablespoons unsalted butter
2 tablespoons sugar

for the apple purée
3 Golden Delicious apples, peeled cored and diced
1 vanilla bean pod, split lengthwise
2 tablespoons sugar
2 tablespoons butter

Directions – Pâte Sucrée
1.  In a stand mixer fitted with the dough hook, combine the flour, sugar, salt and butter on medium speed until you have a coarse meal. Gradually add the cream and yolks, and mix until just combined. Do not overwork the dough.
2.  Transfer the dough to a large work surface and bring it together with your hands to incorporate completely. Divide the dough in half, shape into a 1-inch-thick discs, and wrap one of them to freeze and use later.
3.  If the dough is too soft, put in the refrigerator for 5 to 10 minutes to firm up a little. If the dough is manageable, place it on a lightly floured work surface, sprinkle a little flour over the dough, and roll it out into a 1/4-inch-thick circle, flouring as necessary.
4.  Starting at the one side, roll and wrap the dough around the rolling pin to pick it up. Unroll the dough over a 10-inch tart pan. Gently fit the dough loosely into the pan, lifting the edges and pressing the dough into the corners with your fingers. To remove the excess dough, roll the rolling pin lightly over the top of the tart pan for a nice clean edge, or work your way around the edge pinching off any excess dough with your fingers. Chill for 1 hour.

Directions – Apple Filling
1.  Preheat the oven to 375 degrees F.
2.  Line the tart pan with the pâte sucrée. Prick the bottom with a fork and line the shell with parchment. Fill the lined tart with dried beans or pie weights and bake for 15 minutes until the edges are set and lightly browned. Take the tart out of the oven and carefully remove the parchment paper and dried beans.
3.  To make the apple purée, put the diced apples, vanilla bean pod, sugar and butter in a saucepan with 3 to 4 tablespoons of water. Cook gently, stirring often until soft, adding more water if necessary, for about 10 to 15 minutes. Using the tip of a knife to scrape the seeds out of the vanilla bean, then discard the pod.
4.  Transfer the mixture to a food mill or mash with a fork until smooth.
5.  Heat the butter in a sauté pan and gently sauté the apple slices to coat them in the butter until just softened.
6.  Spread the purée evenly in the partially baked tart shell. Carefully arrange the apple slices in a neat circle around the edge. They should be tightly overlapping but not squished together. Depending on the size of your tart pan and the apples, you can repeat to create an inner circle or just fill in the center in a decorative pattern. Sprinkle over a tablespoon or two of sugar.
7.  Bake in the preheated oven until just browned and tender, about 25 to 30 minutes. Serve warm or at room temperature with a dollop of crème fraîche or Calvados spiked whipped cream.

Photo Credit: my hubs    •    Sift powdered sugar over each piece for a pretty presentation.

From this...I declare that this year will be the year of the tarts! First step is to buy a tart pan. Wish me luck.